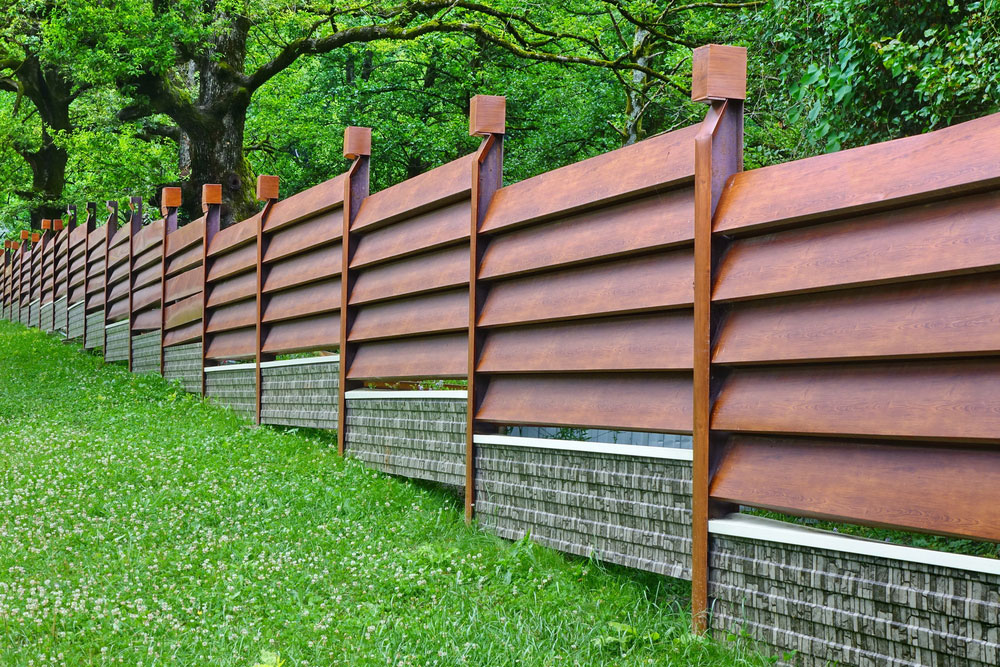
DIY Wood Fence Installation: Step-by-Step Guide

Installing a wood fence by yourself can be a rewarding project that not only saves money but also boosts your property’s privacy, security, and aesthetic appeal. While it may seem daunting at first, with the right tools, materials, and a clear plan, you can build a sturdy and stylish fence in just a few days. This step-by-step guide will walk you through the essential stages of a wood fence installation so you can confidently take on this backyard upgrade.
1. Planning and Permits
Before you dig a single hole, it’s important to do a little homework. Check with your local zoning office or homeowner’s association for regulations or permits related to fence construction. There may be height restrictions, setback requirements, or design limitations.
Next, contact your local utility company to mark any underground lines. This is a crucial safety step. Also, have a conversation with your neighbors to ensure you’re both aware of the fence placement.
Once legal and logistical concerns are addressed, measure your yard and create a layout. Mark the location of each post with stakes and string to get a visual outline of your wood fence.
2. Choosing Materials and Tools
For a long-lasting wood fence, choose quality, weather-resistant wood like cedar, redwood, or pressure-treated pine. You’ll need:
- Fence posts (4×4)
- Fence panels or pickets
- Concrete mix
- Gravel
- Nails or exterior screws
- Hinges and latches (for gates)
Tools required include:
- Post hole digger or auger
- Level
- Tape measure
- Hammer or nail gun
- Circular saw
- Drill
- String line
Having all materials on hand before starting will keep your project running smoothly.
3. Installing Fence Posts
Fence posts are the backbone of your wood fence, so take time to set them correctly.
- Dig the holes: Use a post hole digger or auger to dig holes approximately one-third the length of the post, usually around 24–30 inches deep. Holes should be about three times the width of the post.
- Add gravel: Pour 6 inches of gravel at the bottom of each hole for drainage.
- Set the posts: Place the post in the hole, then add quick-setting concrete while keeping it level and plumb. Let the concrete set according to the manufacturer’s instructions—typically 24 hours.
Ensure all posts are evenly spaced and aligned using a string line.
4. Attaching Rails and Panels
Once the posts are set, it’s time to attach the horizontal rails (or directly install panels if you’re using pre-assembled sections).
- For picket-style fences: Attach two or three horizontal rails (top, middle, and bottom) between each set of posts using deck screws.
- For panel fences: Secure panels to the posts with screws or nails, making sure they are level and flush with the top of the posts.
Leave a small gap between the panels or pickets and the ground to avoid moisture damage.
5. Installing Fence Boards or Pickets
If you’re installing individual pickets instead of panels:
- Start at one corner and work your way across.
- Use a spacer or jig to maintain consistent gaps between pickets (typically 2–3 inches).
- Use a level to ensure each picket is straight.
This step can be time-consuming, but it defines the overall look of your wood fence, so take your time and check your alignment regularly.
6. Building and Installing the Gate
Select the spot for your gate and ensure it’s wide enough for lawn equipment or other needs. Construct a gate frame using 2x4s in a rectangular or “Z” shape for added strength.
- Attach pickets to match the rest of the fence.
- Install hinges to the gate and secure it to a sturdy post.
- Add a latch and check that the gate swings open smoothly and closes properly.
7. Finishing Touches
Once your wood fence is fully installed:
- Trim any uneven picket tops with a circular saw for a uniform finish.
- Sand rough edges for safety.
- Apply a weather-resistant stain, sealant, or paint to protect the wood from the elements.
This will enhance the fence’s durability and appearance for years to come.
Final Thoughts
A wood fence is more than just a property divider—it’s a statement of craftsmanship and care. By following this step-by-step DIY guide, you can build a fence that’s not only functional but also a beautiful enhancement to your home. While the process requires patience and attention to detail, the satisfaction of standing back and seeing your completed work is well worth the effort. Whether you’re aiming for privacy, security, or simply adding rustic charm, your custom-built wood fence will stand strong and proud for years to come.


